A easy information on Harvesting and Storing Microgreens. Harvest day is an thrilling second—simply days after planting, you might have a tray bursting with mini-vegetables able to eat. Correct harvesting and dealing with will guarantee one of the best taste and shelf life.
When to Harvest Microgreens
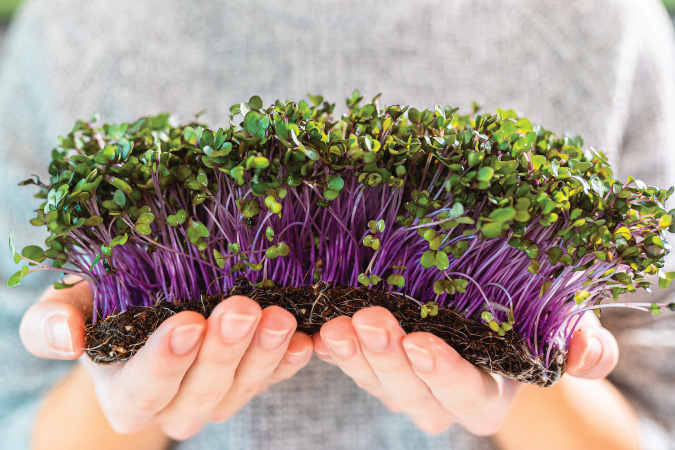
Most microgreens are lower once they’ve developed their cotyledons (seed leaves) and probably a tiny first real leaf, sometimes 1-3 inches tall. That is when they’re most tender and flavorful. Harvesting often occurs effectively earlier than the crops begin getting tall, woody, or creating extra mature leaves.
A visible cue: the tray appears to be like like a thick garden, and perhaps a couple of microgreens are beginning to lean over or get a second set of leaves – that’s an excellent time to chop. Please don’t look ahead to them to all fall over, otherwise you threat damping off or rot setting in on the base.
Tips on how to Harvest Microgreens
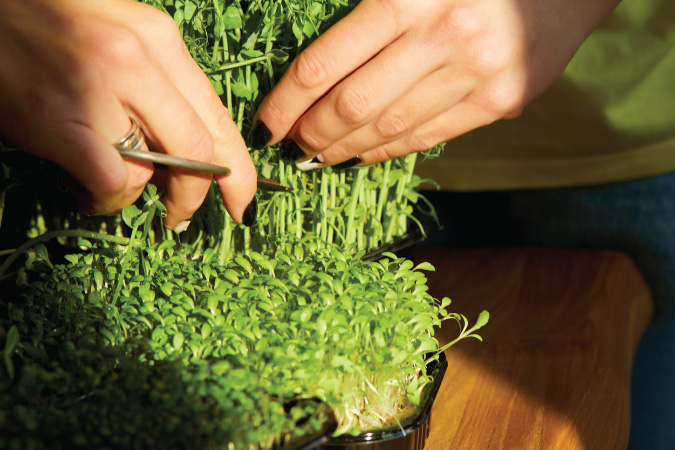
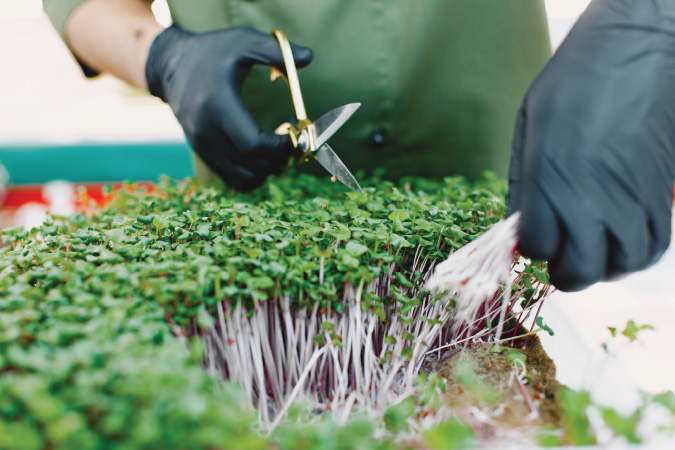
Use a clear pair of scissors or a pointy knife. Maintain a bunch of microgreens upright with one hand and snip simply above the soil line with the opposite. Keep away from chopping into the soil (you don’t need grit in your greens).
It’s typically best to work in sections, harvesting a portion of the tray at a time. If any seed hulls are nonetheless connected (conversant in sunflower or beet), you may pop these off or blow frivolously, and lots of will fall away. Harvesting is finest accomplished when the greens are dry – so for those who final watered from the highest, permit them to dry off earlier than chopping. This helps them retailer higher and prevents a slimy lower edge.
Utilizing Microgreens Contemporary
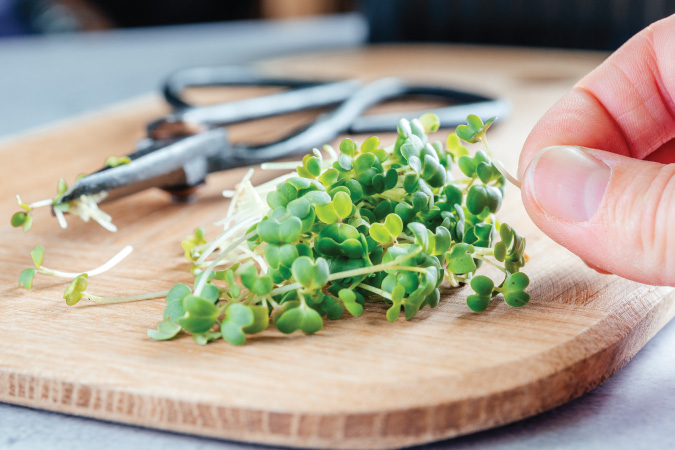
Give the harvested microgreens a fast inspection and take away any giant seed husks or the uncommon bad-looking sprout. In lots of circumstances, for those who develop in a clear medium, you don’t even want to scrub microgreens – you may eat them right away (very true for homegrown, the place no pesticides or contaminants are current). They need to be very clear for those who watered gently. Nevertheless, for those who want to rinse, achieve this very gently in a bowl of chilly water, then drain. Pat them dry with a paper towel or spin dry utilizing a salad spinner (only a few light spins; don’t bruise them).
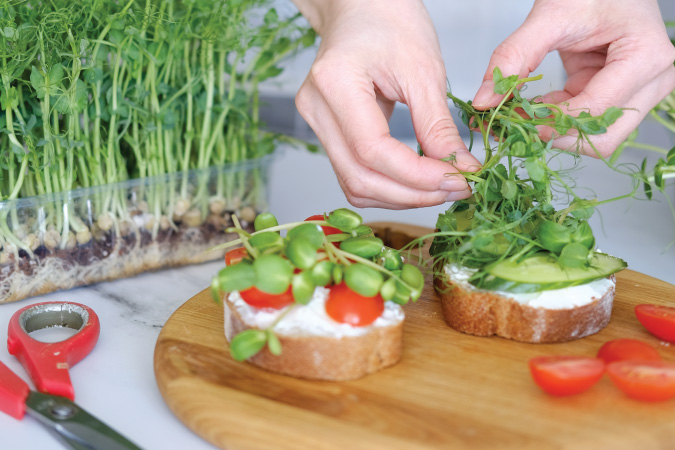
Microgreens shine when eaten uncooked: toss them on salads, pile them onto sandwiches and wraps, scatter them on soups or omelets after cooking, or mix them into smoothies and pesto. We’ve even dehydrated them and used them as a nutrient-packed garnish.
They pack quite a lot of flavors—radish microgreens, in a tiny leaf, will provide you with a wasabi-like punch, whereas pea shoots add a candy garden-pea style to something. Their dietary punch is highest when contemporary and uncooked.
Storing Your Harvest
When you aren’t consuming all of them instantly, correct storage is important as a result of microgreens can spoil quicker than mature greens. First, be sure that any greens you propose to retailer are dry to the contact (extra moisture will promote rot). Line a plastic container or ziplock bag with a dry paper towel to soak up humidity. Place the microgreens loosely inside – don’t pack them or crush them. Seal it and preserve it within the fridge.
The perfect fridge temp is round 35–40°F. Completely different microgreens have totally different shelf lives, however usually, use them inside 5 to 7 days for highest quality. Some research point out they’ll last as long as 10-14 days below refrigeration, typically requiring optimum circumstances and varieties. In follow, delicate micros like radish or mustard may final ~1 week, whereas heartier pea shoots might last more. Test the saved greens every day and take away any decay bits (the remaining will last more if spoiled items are taken out). When you discover the paper towel is damp, change it.
Another storage methodology is gently wrapping the microgreens in a dry paper towel after which placing them in a bag—some growers discover this helps preserve them crisp.
Meals Security Word
Microgreens grown at residence have a low threat of contamination for those who use clear practices (clear trays, contemporary seeds, potable water). They’re safer than sprouts as a result of they’re grown in mild and with airflow, not in a jar. Nonetheless, all the time use clear palms and instruments when dealing with them. Some individuals give a really mild rinse of a vinegar-water answer or use produce wash in the event that they’re storing some time, nevertheless it’s often not mandatory for homegrown. When you wash them, guarantee they’re absolutely dry earlier than storing them to keep away from microbial progress.
Do not forget that, not like a potted herb, microgreens won’t develop after you narrow them. In a couple of circumstances (like pea shoots or some herbs), for those who go away a little bit of stem and the basis mat intact, you may get a really sparse regrowth or a “second lower,” however sometimes, the standard is way decrease. It’s finest to compost the remnants and begin anew with contemporary seeds for a steady provide.
You possibly can prolong a tray’s usefulness by harvesting in batches each few days. For instance, you may lower one half of the tray someday and go away the remaining below lights to develop, perhaps an additional day or two in the event that they have been barely behind. However usually, as soon as they’ve hit their prime, it’s time to reap utterly.
Take pleasure in this course of – there’s one thing extremely satisfying about snipping a tray of greens you grew in below two weeks and instantly sprinkling them onto your dinner.
From tray to desk in minutes is the last word farm-to-table expertise!
Learn Extra on this Collection:
A Newbie Information to Rising Microgreens
The High 5 Best to Develop Microgreen Varieties for Freshmen
Our Favourite Microgreens Provider:
(Visited 16 instances, 5 visits immediately)